During the tire fiasco, I knew better than to waste precious time crying over what was broken. As I waited for the response that would point me in the right direction, I spent the two weeks jumping ahead of schedule and building the new mesh for the Durango. I had built up a list of recommendations on what to fix from the original model based on instructor critique, advice from industry professionals via online forums, and just by critically examining the model myself. Effectly nothing was left of the original model. The new mesh was also much more efficient. The original was a whopping 22,302 tris, and my goal was to lower that to 10,000. The new mesh was 9,078 tris, nearly two and a half times fewer than the original, yet sporting much more detail. She also had a highpoly sister, where most of that detail came in via normal maps.
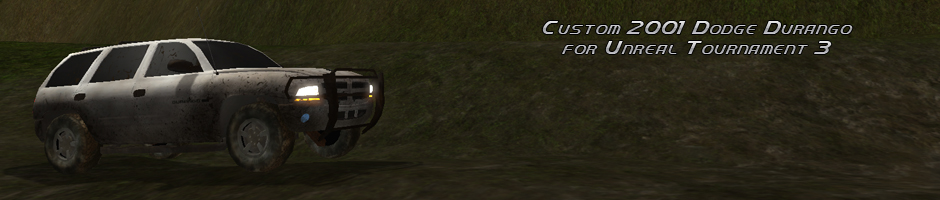
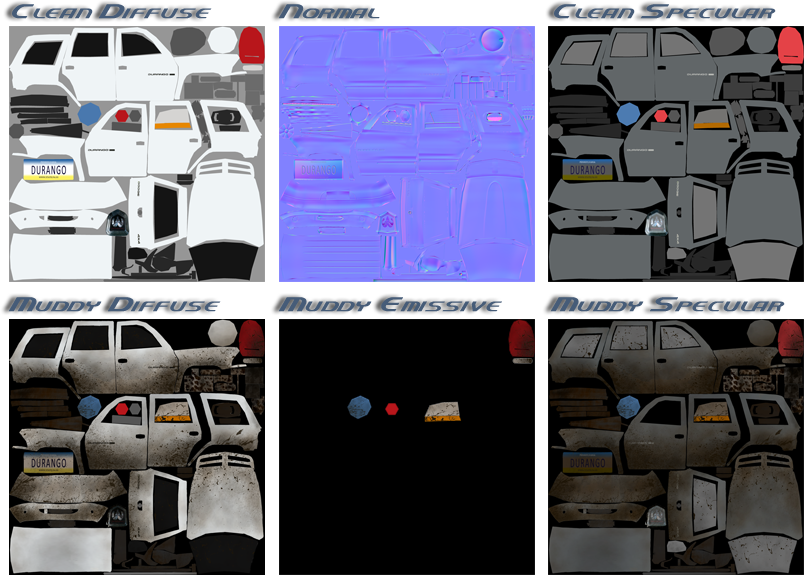
To date I have only made the textures on vehicle models look factory fresh. Everyone loves a nice shiny car. But I knew this Durango, and I knew that more often than not, she was not the shiniest. She was a wood-hauler and lived in the country, and it seemed appropriate to show that. I made two sets of textures, one that was clean, and one that was muddy. For the muddy one, I took the model into ZBrush for polypainting. Beyond finding polypainting to be a very zen experience, this provided me with a good base to further detail in Photoshop, while preventing ugly texture seems inbetween the many pieces of metal that make up the car. I completed the texturing in three passes, one for each of the final three weeks until the deadline, to make sure I didn't use up too much time when other things were left to finish. Once all was said and done, the car needed two materials, one primarily for painted metal parts, the other for tire detail.